We've launched our new site at www.openlighting.org. This wiki will remain and be updated with more technical information.
Difference between revisions of "OLA LED Pixels"
From wiki.openlighting.org
(→Hardware Setup) |
(→Hardware Setup) |
||
| Line 19: | Line 19: | ||
TODO(someone): document this. | TODO(someone): document this. | ||
| − | Connect the MOSI pin to the data line on the pixel string | + | * Connect the MOSI pin to the data line on the pixel string |
| − | Connect the SCLK pin to the clock line on the pixel string. | + | * Connect the SCLK pin to the clock line on the pixel string. |
| − | Connect one of the ground pins to the ground on the pixel string | + | * Connect one of the ground pins to the ground on the pixel string |
| − | Connect a 5V power supply to the pixel string. | + | * Connect a 5V power supply to the pixel string. |
== Software Setup == | == Software Setup == | ||
Revision as of 23:07, 7 March 2013
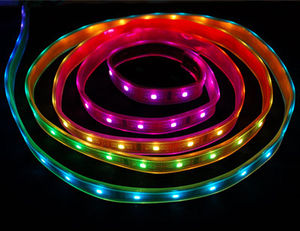
Since March 2013, OLA contains an SPI plugin, which allows you to drive strings of LEDs pixels provided your hardware has an SPI device. Using embedded Linux platforms like the Raspberry Pi, this allows one to build Pixel strings controlable via any of the supported protocols (ArtNet, E1.31, OSC & more) for < $100.
Alternatively if you don't want network control, you can send DMX512 to the LEDs using the Python, C++ or Java client library.
Supported Hardware
On the host side, any SPI hardware supported by the Linux kernel should work correctly. By default OLA looks for devices in the form /dev/spi* . If you're using a Raspberry Pi you can save yourself a lot of time by using the pre-built images, see OLA on the Raspberry Pi for details.
On the LED pixel side the following is supported:
- LPD8806, e.g. https://www.adafruit.com/products/306
- WS2801, e.g. https://www.adafruit.com/products/738
Only the WS2801 is supported in the 0.8.27 release. Code to support LPD8806 is in the git repo and will be in 0.8.28.
Hardware Setup
TODO(someone): document this.
- Connect the MOSI pin to the data line on the pixel string
- Connect the SCLK pin to the clock line on the pixel string.
- Connect one of the ground pins to the ground on the pixel string
- Connect a 5V power supply to the pixel string.
Software Setup
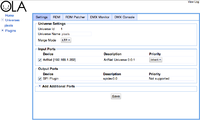
Once you have OLA running it's a matter of patching an SPI Output port to a universe and then patching the desired input port. This can be done from the OLA web UI, which runs on port 9090.
Configuration
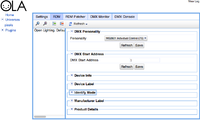
The type of LED drivers, operating mode and DMX Start Address are configurable via RDM. Click on the RDM tab and you'll see the options.
The number of LEDs and SPI speed is set using the ola-spi.conf file.
base_uid = 7a70:00000100
device_prefix = spidev
enabled = true
spidev0.0-dmx-address = 1
spidev0.0-personality = 1
spidev0.0-pixel-count = 25
spidev0.0-spi-speed = 100000
spidev0.1-dmx-address = 1
spidev0.1-personality = 2
spidev0.1-pixel-count = 25
spidev0.1-spi-speed = 100000


